Set Up Your Secure Data Room
A streamlined process to create, organise, and share your critical documents with confidence and control.
Getting Started
How to Set Up Your Data Room
Welcome to Document Vault Systems! Before you begin, register and select a suitable package. Review our Pricing Plans for detailed features.
Register and Choose a Pricing Plan
Before you can set up your data room within Document Vault Systems, you must first register and select the package you wish to purchase. See our Pricing Plans for a full breakdown of features included in each tier.
Name Your Data Room
You will be asked to give the data room a name — typically the name of your project, for example "Project Green". Once your data room goes live, you can access it directly through its own link:
Add Branding (Logo & Colour Scheme)
If you have ordered a package that includes branding, you can add your logo and customise the colour scheme so the data room matches your corporate identity.
Customise Terms and Confidentiality Agreement
Customise the standard terms for data room use and/or confidentiality agreement, so that all users of the data room are bound by your specific terms.
Add Documents and Invite Users
Having completed the initial setup, you can now add your documents and invite users to the data room. Follow the steps below for detailed guidance on each part of this process.
Platform Preview
See the Setup in Action
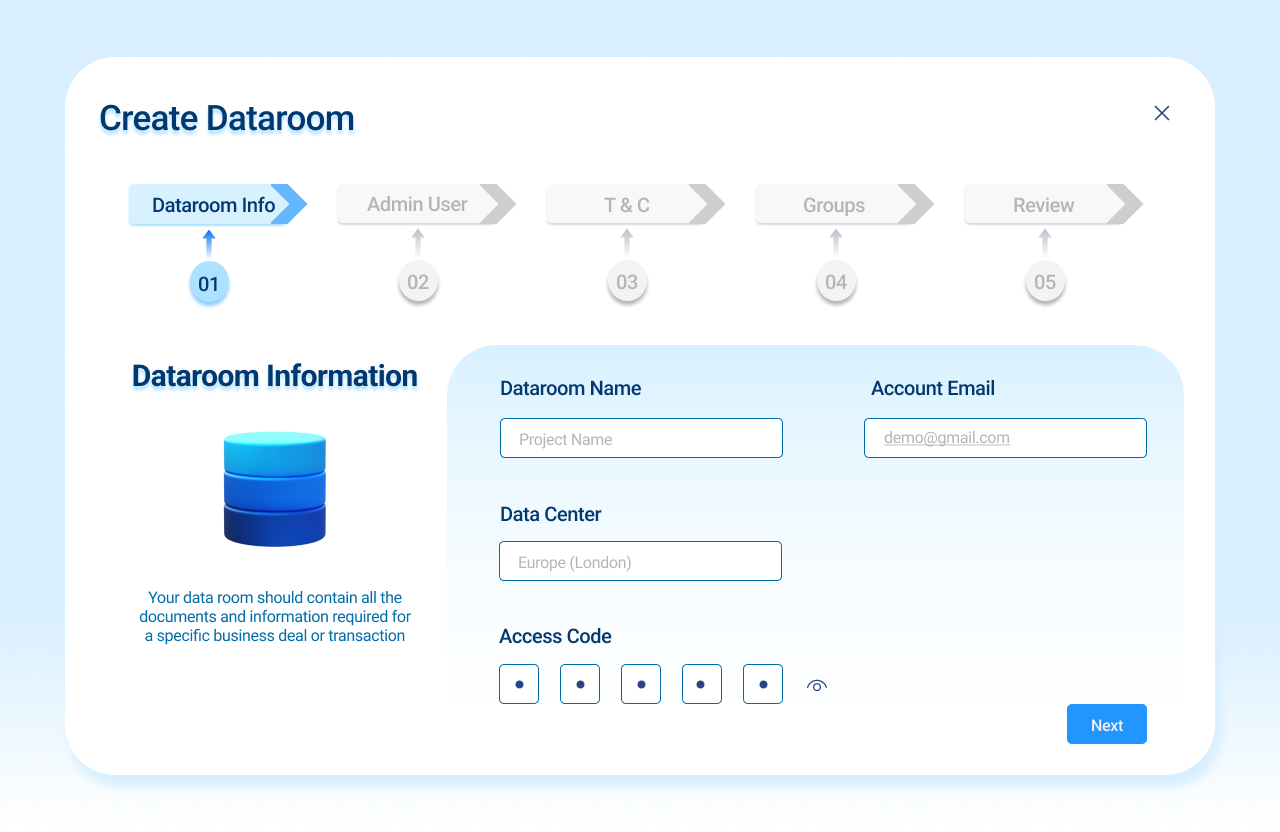
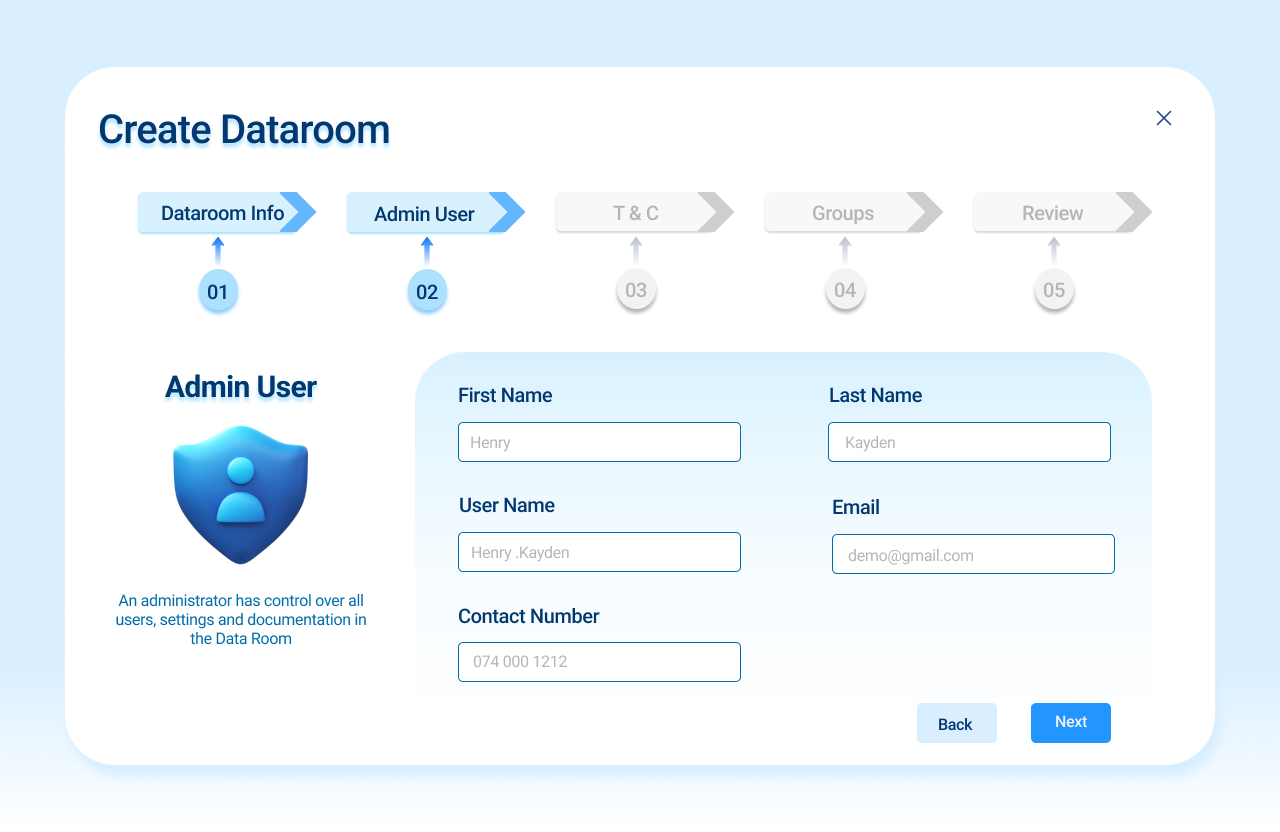
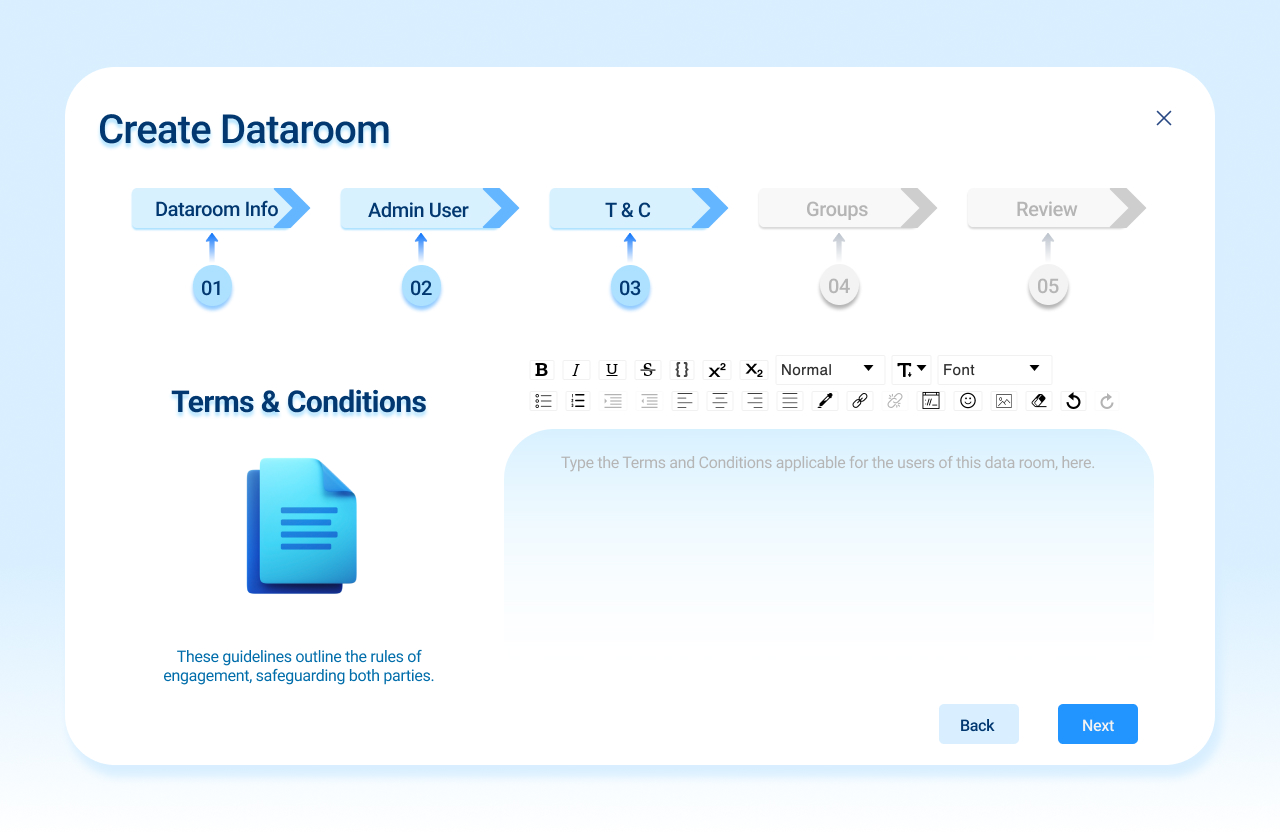
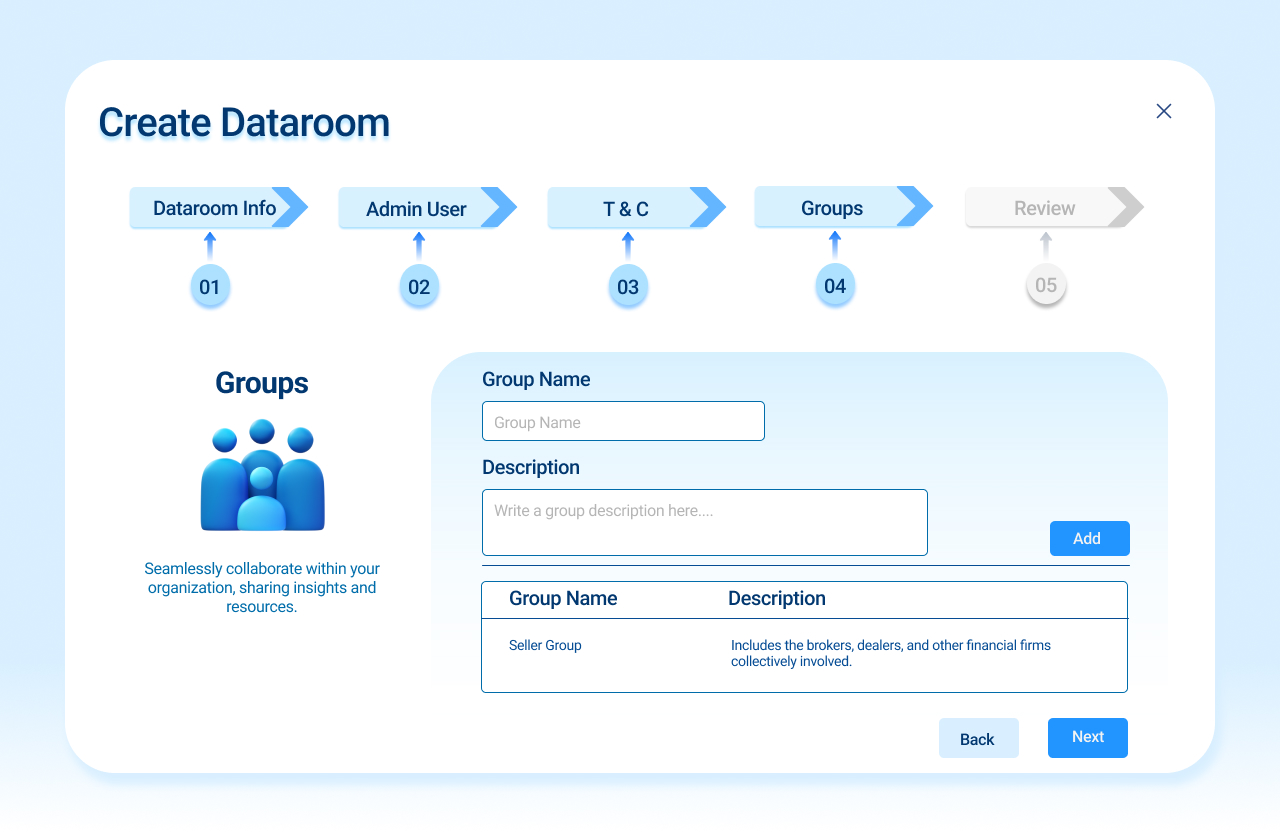
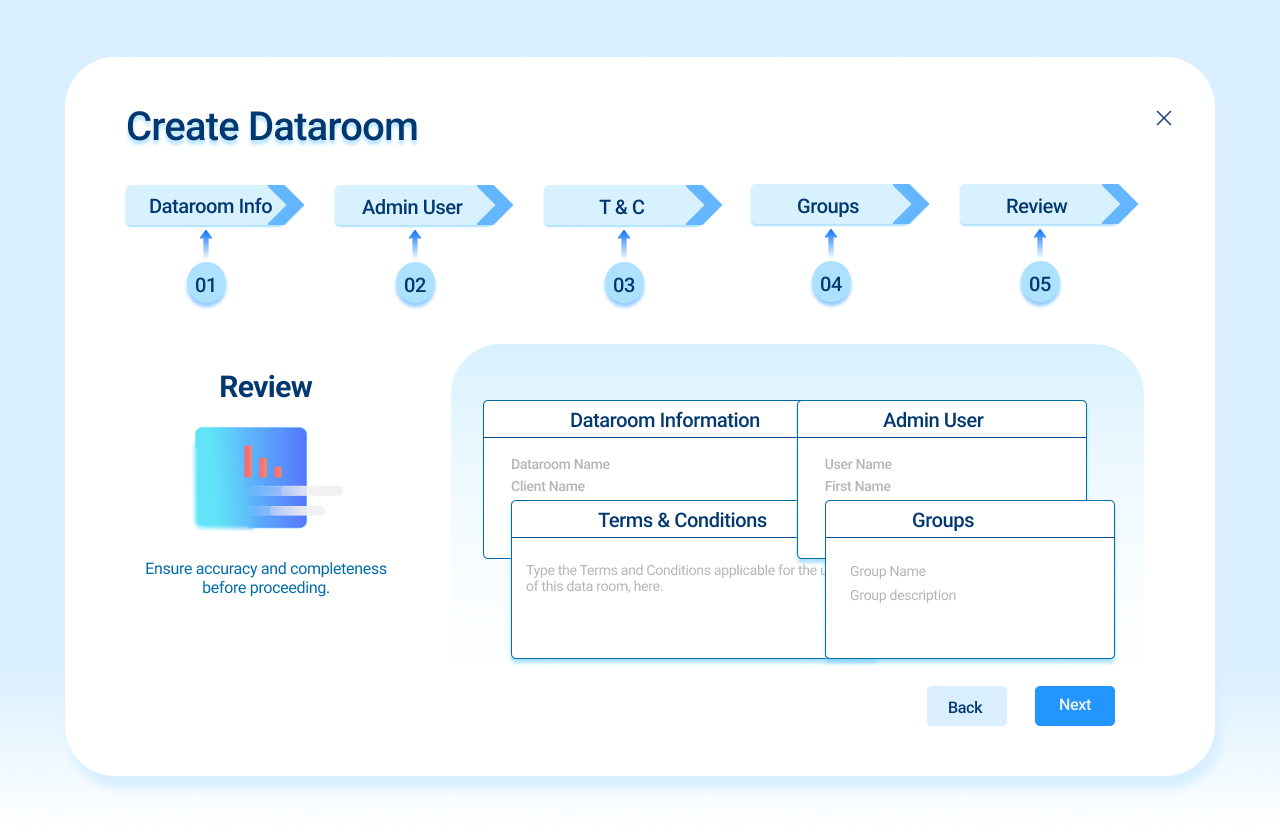
Step 05a
Adding Documents To Your Data Room
It is not necessary to prepare a manual index of the documents prior to upload, although you may prefer to do this.
The first step is to organise your documents on your local computer prior to adding them to the data room. This means setting up the folder structure and placing the documents within this structure. It is helpful to agree the naming conventions at this stage so that each document is named consistently, particularly with regard to the way dates are displayed.
If scanning your documents, it is recommended that you scan to "searchable PDF", so that each scanned document contains the embedded search text as well as the scanned image. This will facilitate document search once the documents have been added to the data room.
Once you have done this, you can add these documents to the data room by uploading the files directly. You will then be asked to confirm the details, set permissions and complete the import.
Step 05b
Inviting Users To Your Data Room
We recommend that all users of the Data Room are required to register, agreeing to your Confidentiality Agreement before being given access to the Data Room.
To achieve this, we will provide you with a website address to send people to, together with a Pincode which when entered will take them to your Confidentiality Agreement. On agreeing to your terms, they will be assigned to an initial user group, assigned a username and password and given a link to your Data Room URL.
Log in details will be sent via email.
Ready to Begin?
Start Setting Up Your Data Room Today
Register now and get your secure virtual data room up and running quickly. Our team is on hand to help at every step.